

Best Practices
Data Preparation: Start Small, Iterate Frequently.
- Begin with a small well-curated examples for your specific use case. Even a small dataset can serve as a strong foundation when combined with the system’s autonomous data augmentation.
Use the Prem Playground for Rapid Feedback
- Leverage the interactive comparison feature in the Prem Playground to quickly gauge which model variant is performing well on your task.
- Perform red-teaming tests by providing diverse, challenging prompts. This not only uncovers vulnerabilities but also creates high-value data for subsequent fine-tuning stages.
Emphasize Quality in Data Collection
- Automated data harvesting from production systems is powerful, but ensure you incorporate clear filtering and quality checks. Use domain-specific rules and engagement metrics to keep your training data relevant and noise-free.
- Multi-dimensional annotations (accuracy, relevance, style, etc.) can provide richer signals for model training, resulting in more robust outcomes.
Make the Most of Autonomous Data Augmentation
- Rely on the platform’s multi-agent orchestration to expand your dataset systematically without compromising on semantic consistency.
- Configure domain constraints carefully to avoid generating irrelevant or contradictory samples. For instance, if you’re focusing on code generation, ensure that your sandboxed environment and validation criteria are well-defined before augmentation begins.
Choose the Right Model Family & Resources
- Select a model family that aligns with your task domain (NL2NL, NL2C, or specialized models like Text to SQL). Each family has different baseline capabilities and constraints.
Continuously Evaluate & Prune
- Run parallel trainings on different model candidates and let the system’s leaderboard identify top performers. This multi-model strategy helps surface unexpected winners (smaller models may outperform bigger ones for certain tasks).
- Prune underperforming models early to save computational resources. Focus on refining promising candidates with additional synthetic data or domain-specific fine-tuning.
Close the Loop with Active Learning (Coming Soon ⚠️)
- Continually gather new examples from both user feedback and system logs. The more “real-world” data you incorporate, the more resilient your models become.
- Use feedback modification tools in the Prem Platform to annotate or correct model responses. These corrected examples directly fuel the next iteration of fine-tuning.
Getting Started: Step by Step Guide
Prepare your data (JSON or JSONL Only)
In order to fine-tune your model, you are required to submit a JSON or JSONL dataset in the following format:or in JSONL format (one JSON object per line):
example.json
example.jsonl
Configure your fine-tuning job
 When configuring your fine-tuning job, you are required to provide the following:
- Fine-tuning Job Name
- Base Model: Select the base model you’d like to use.
-
Training Depth: Use the slider to select the training depth between quick and deep training.
Key Differences:
- Complexity: Deep models (deep training depth) learn more complex and abstract features, whereas quick models might focus on simpler, more direct representations.
- Performance vs. Resources: Deep models often provide better performance on complex tasks but require more computational resources and time to train. Quick models are faster to train and use less resources but may not perform as well on challenging problems.
- Training Time: Models with deep training depth generally take longer to train due to the increased number of layers, which can complicate the learning process.
- A Dataset: Drag and drop your dataset into the Dataset section. Make sure your dataset is in the correct format as shown above.
Configuration In Action
Need Synthetic Data generation?
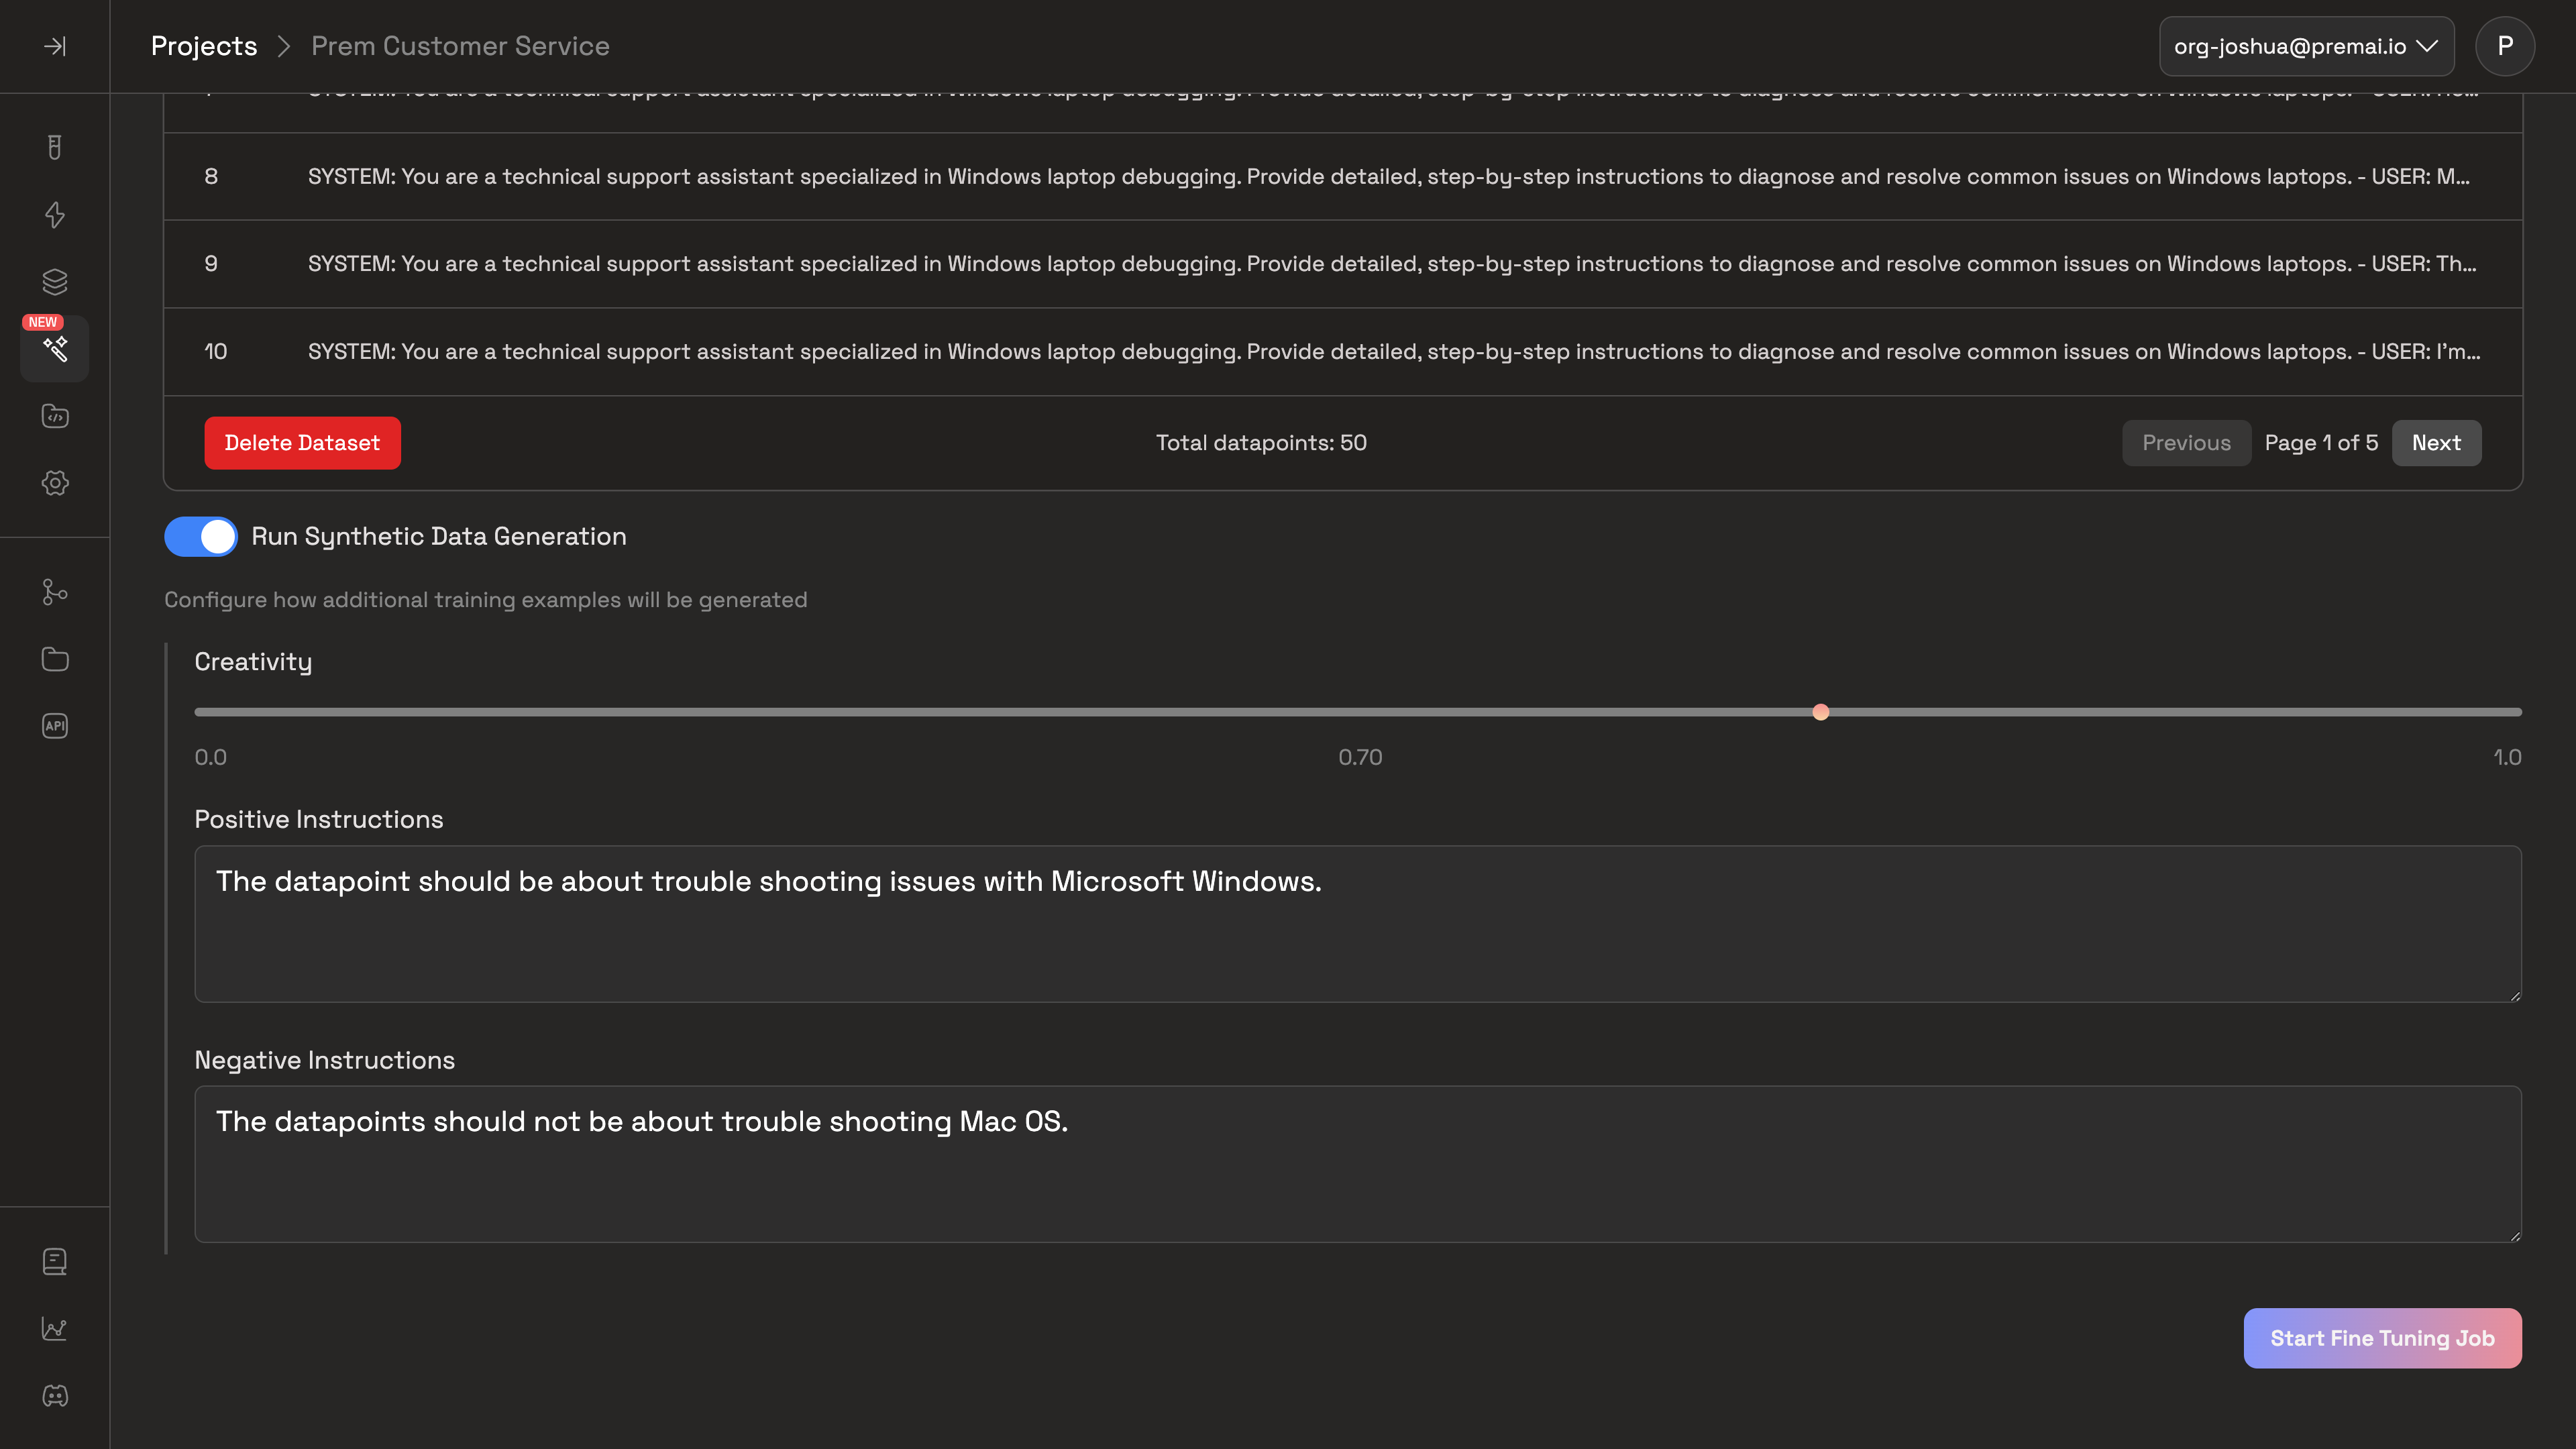 Toggle the Synthetic Data Generation switch to enable or disable the generation of additional training examples.Configure how additional training examples will be generated with the following parameters:
- Creativity: Select the creativity level for the synthetic data generation with the slider with a creativty level of 0 being the least creative and 1.0 being the most creative.
- Positive Instructions: Describe what datapoints you’d like to see more of in the synthetic data generation.
- Negative Instructions: Describe what datapoints you’d like to see less of in the synthetic data generation.
 Now just click the Start Fine-Tuning Job button to start the Autonomous Fine-Tuning Agent.
Fine-Tuning in Action: Data Augmentation
If you are using synthetic data generation, the Data Augmentation phase begins. If you’re not using synthetic data generation, you’ll be queued and go straight to the fine-tuning phase.
Data Augmentation for synthetic data generation
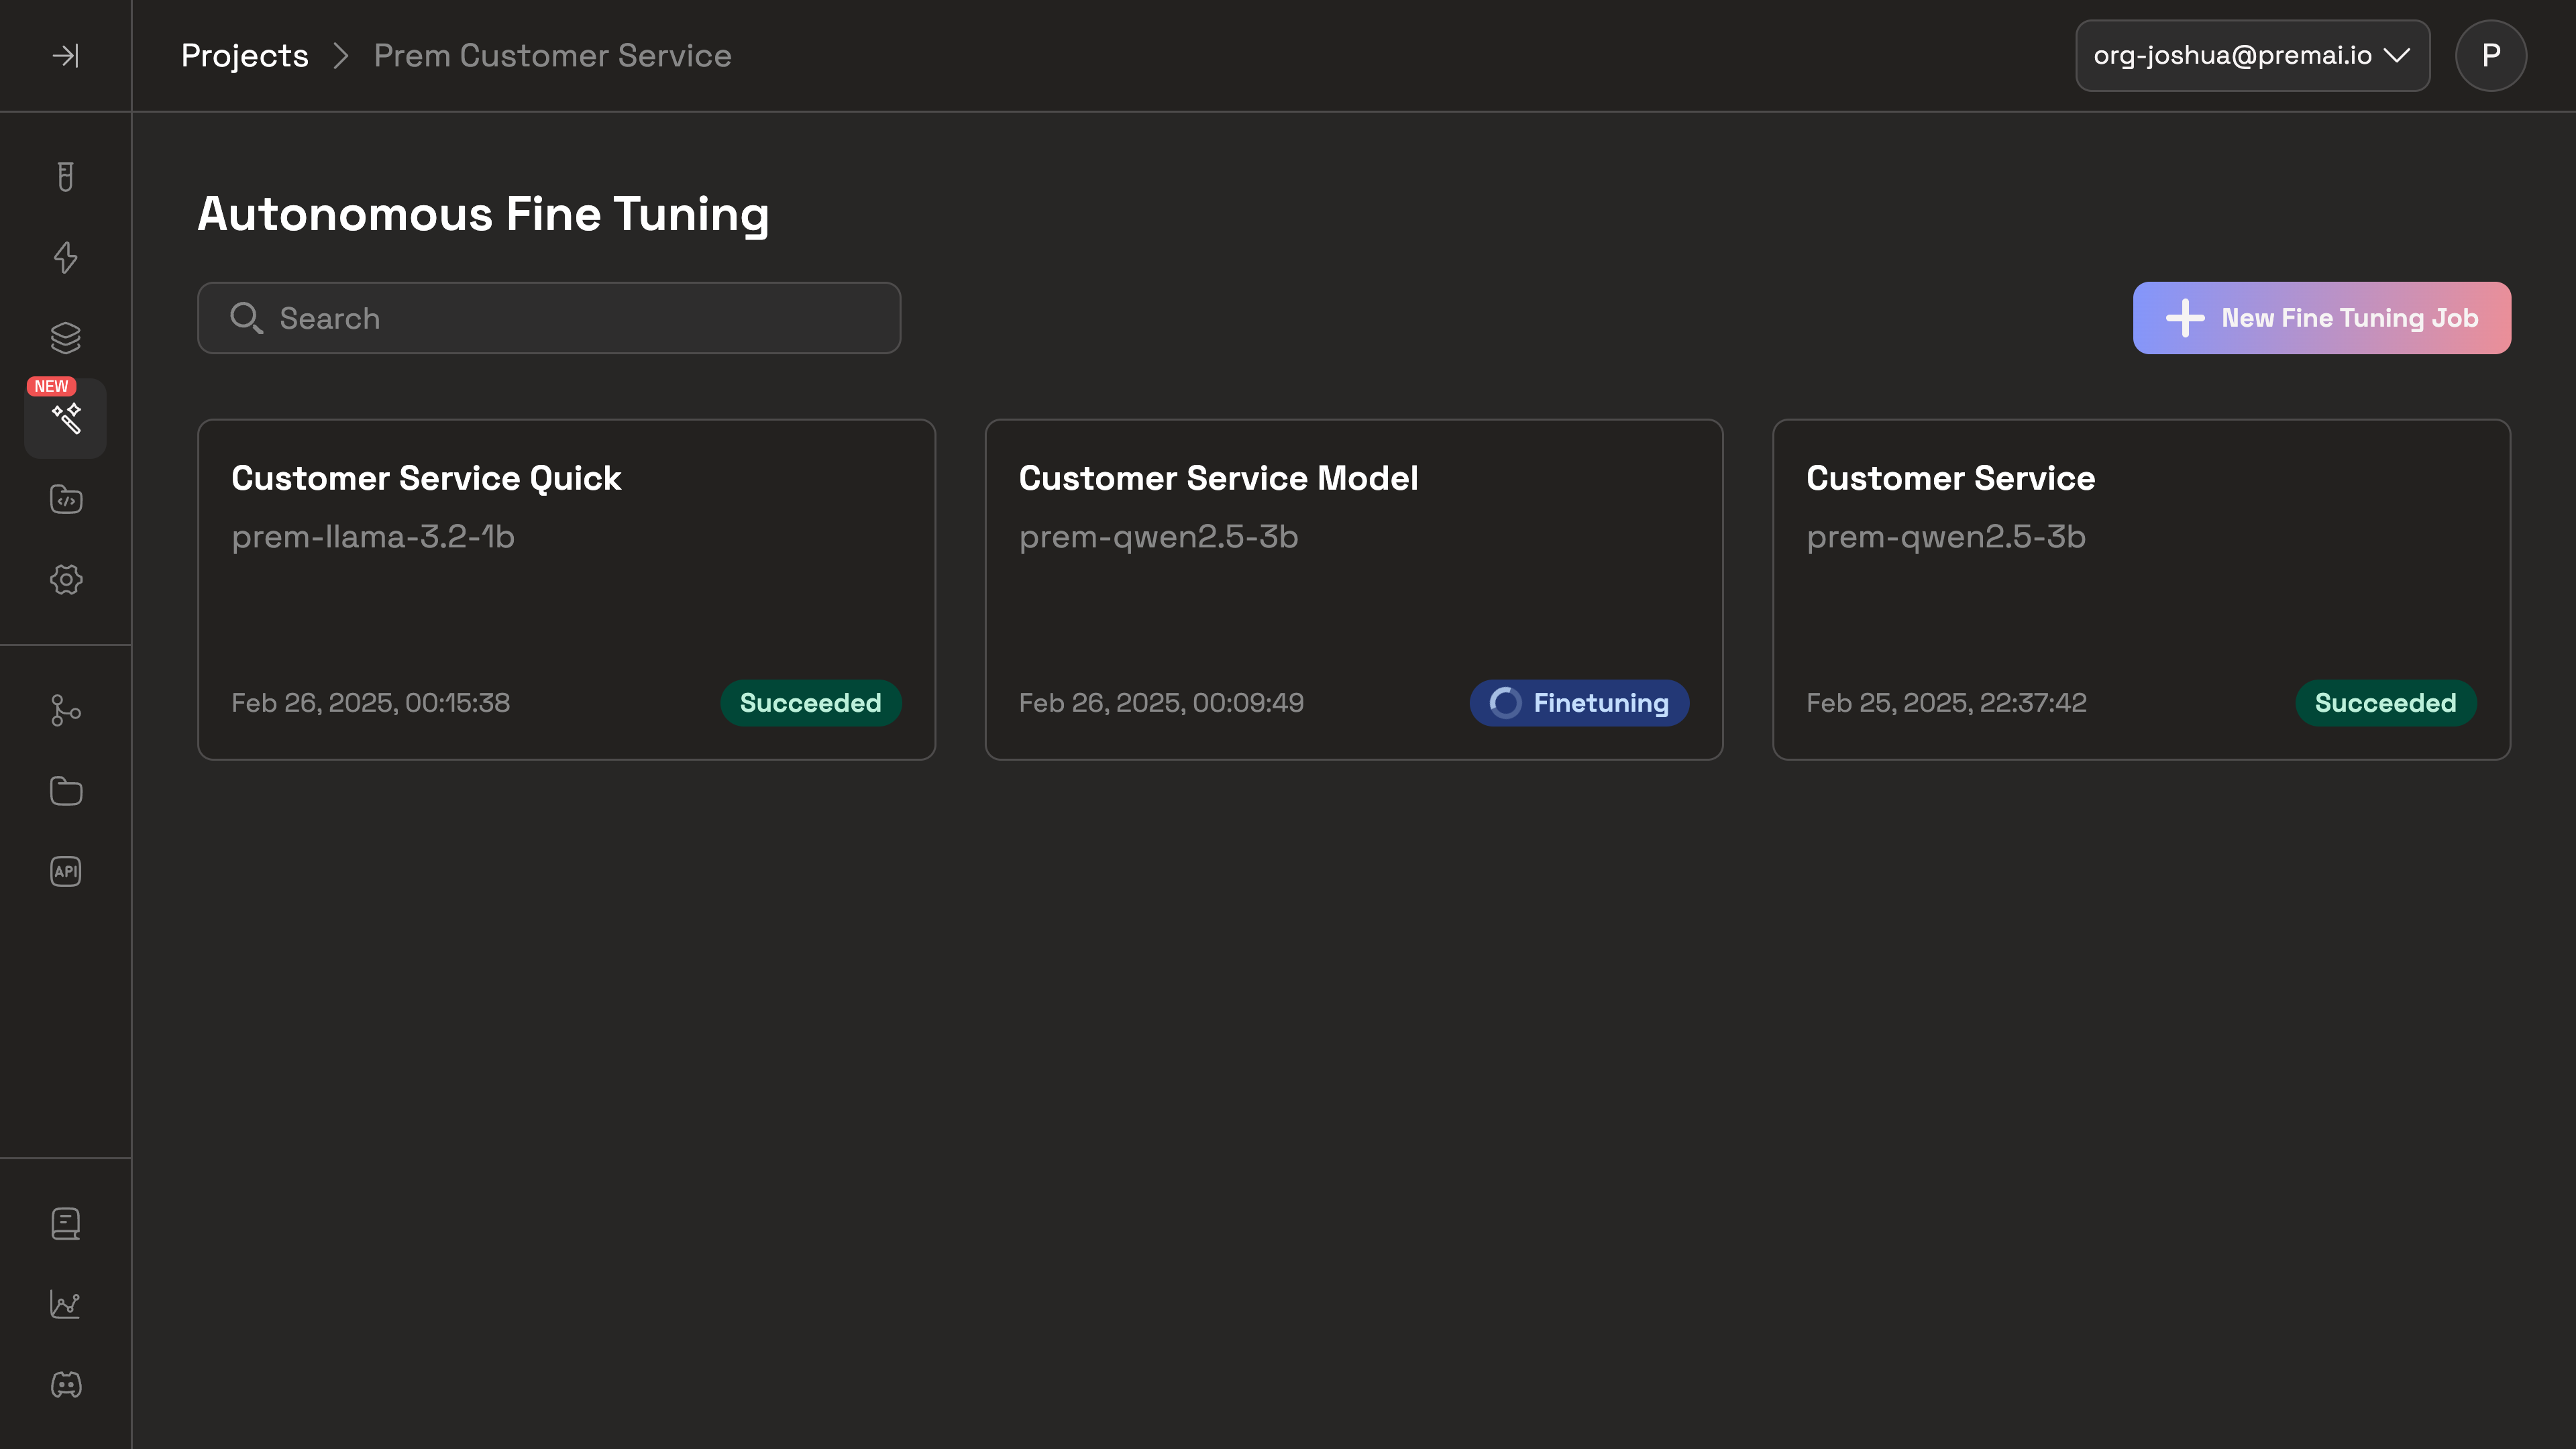
Check the status of your fine-tuning jobs
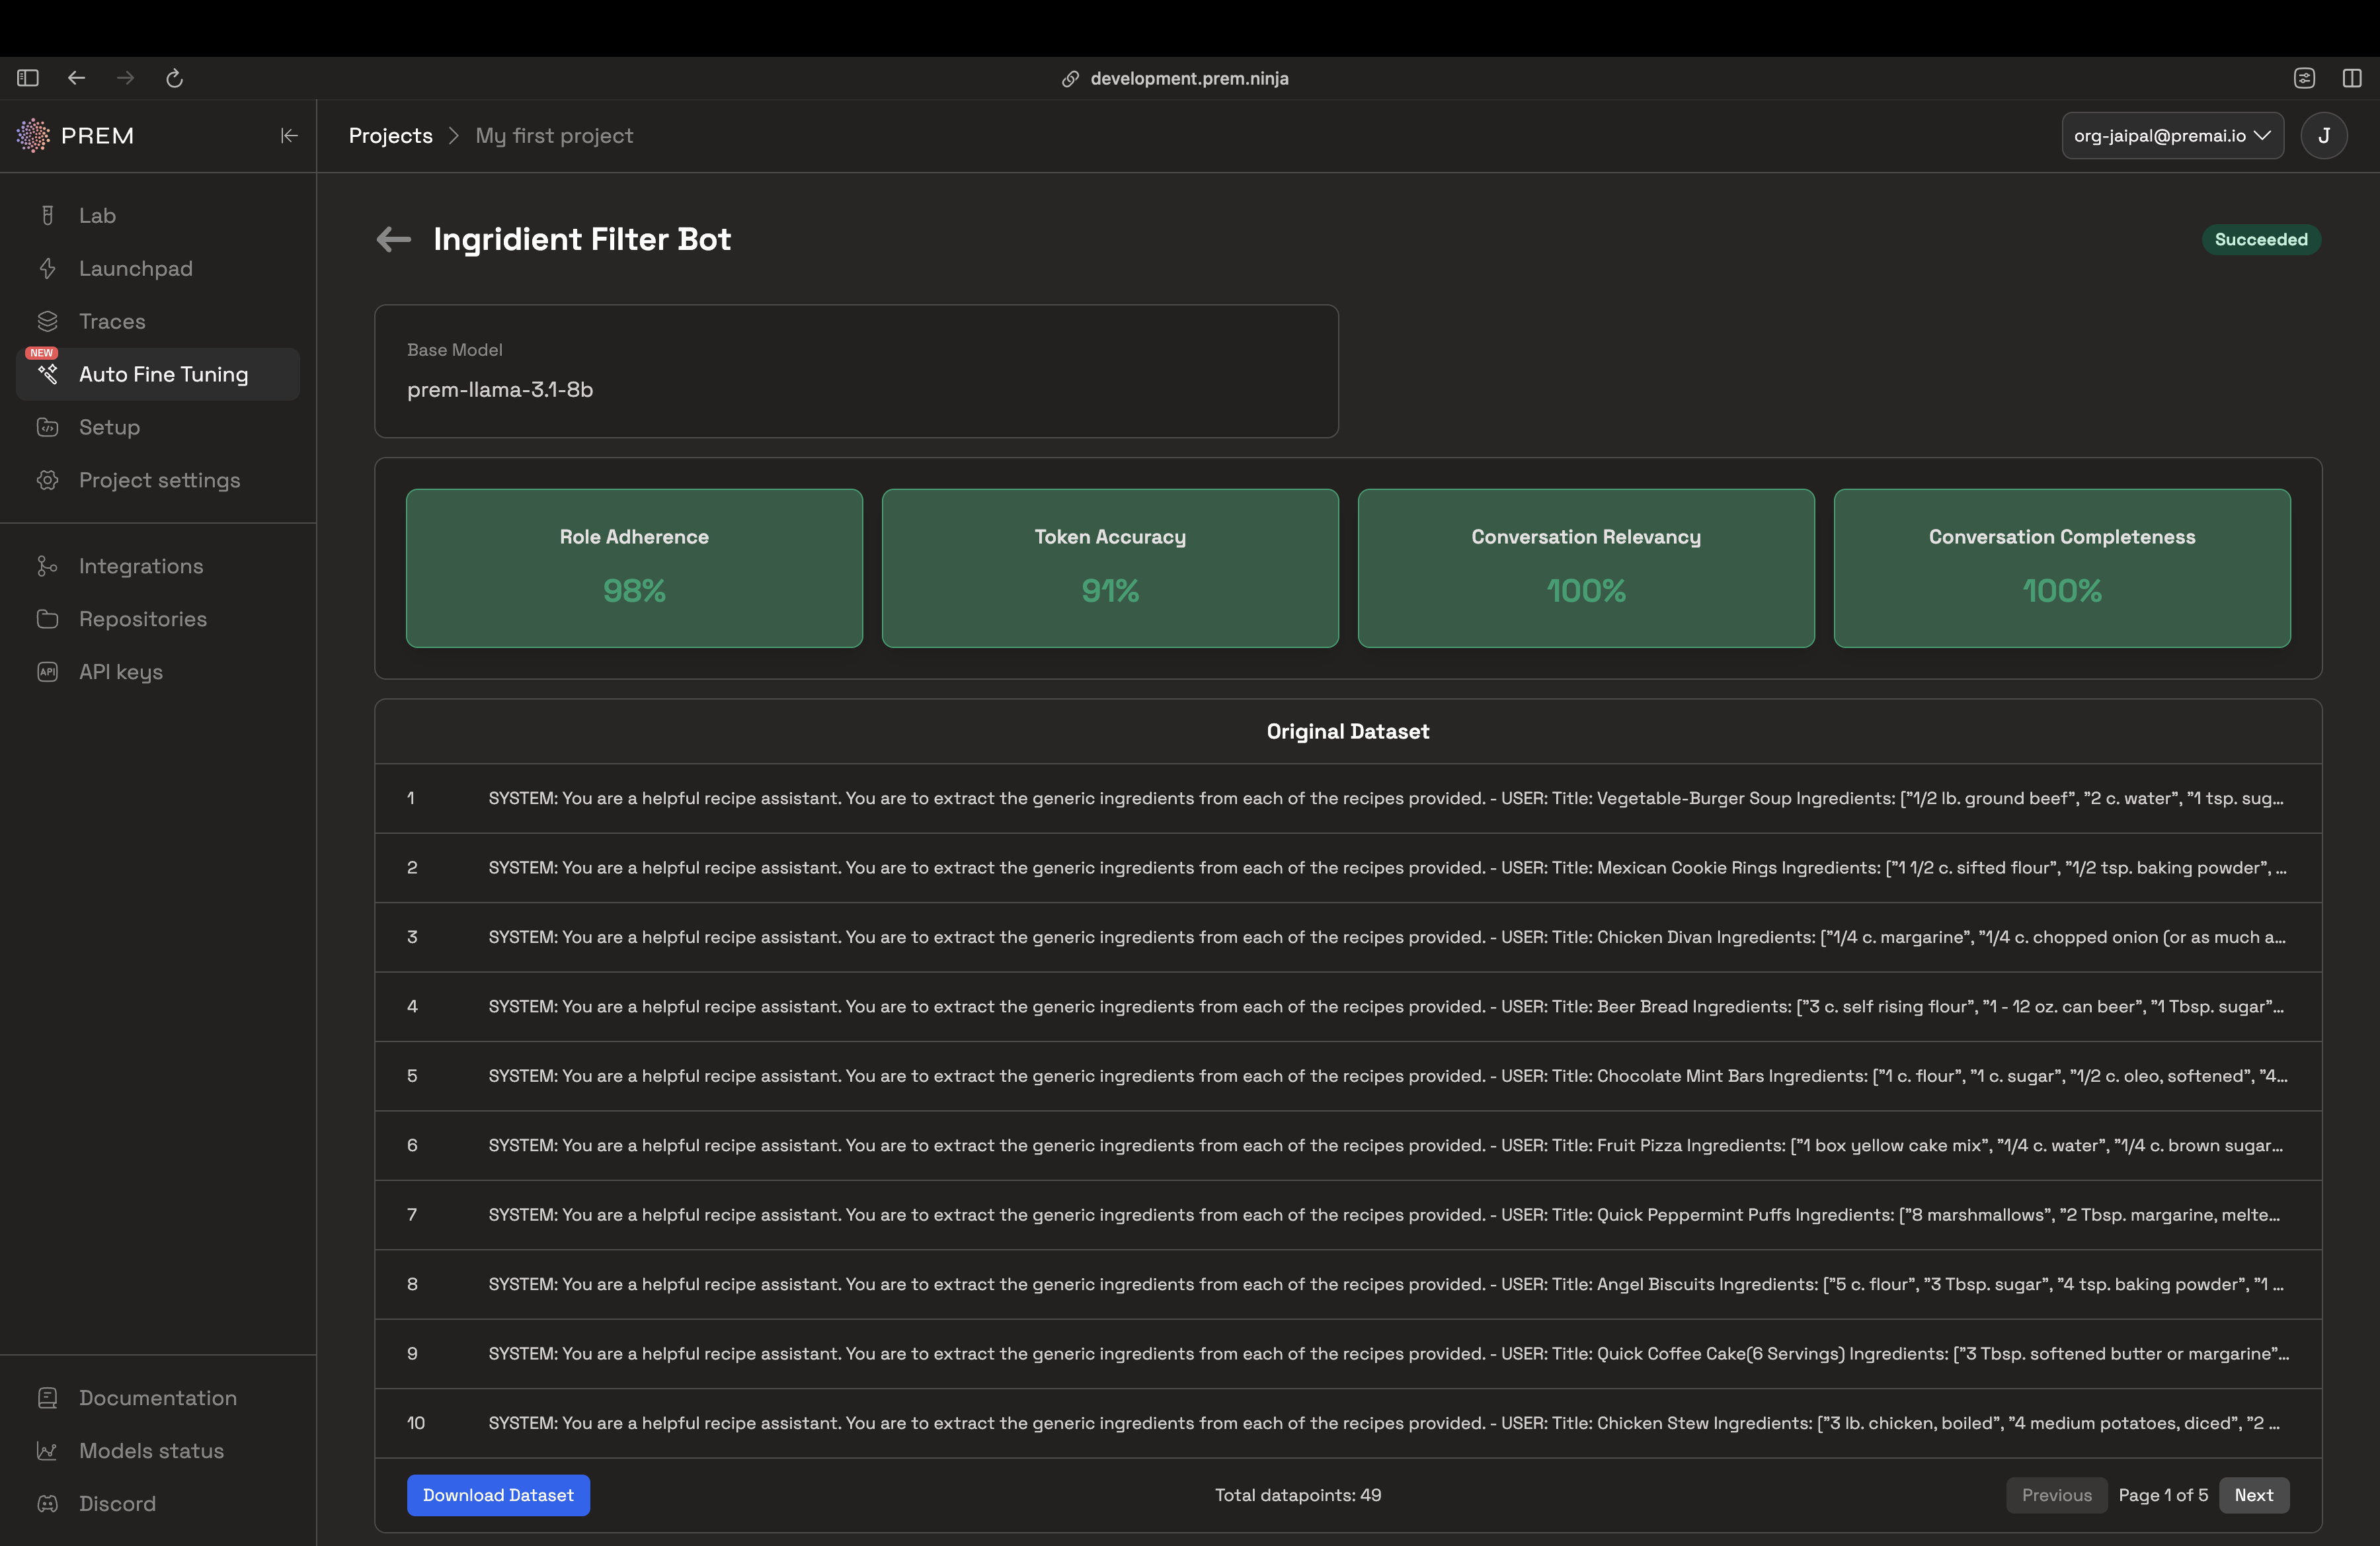
After some time you'll be able to check the evaluation metrics of your fine-tuned model
You'll receive confirmation emails about the status of your fine-tuning jobs
The first email will confirm that the fine-tuning process has begun.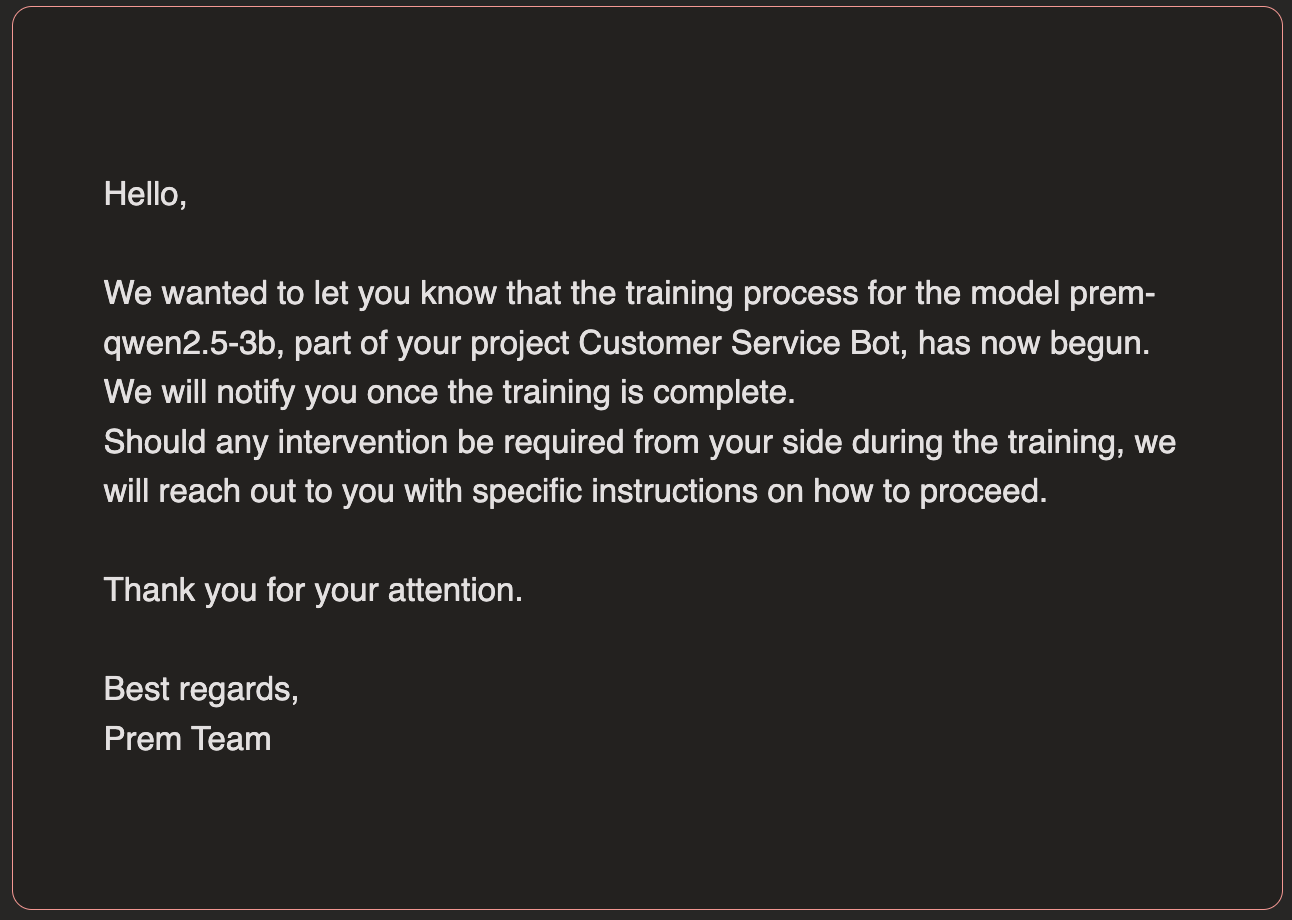 The second email will confirm that the fine-tuning has been completed.
The second email will confirm that the fine-tuning has been completed.Try your fine-tuned model in the Lab
Now that the fine-tuning is complete, head over to the Lab to test it out.
 You can search for your fine-tuned model the same way you would with any of the pre-trained models available.
 You can always change the system prompt, change params, and add repositories to curate the fine-tuned model to your liking.
Compare your fine-tuned model to a different pre-trained model
You can search for your fine-tuned model the same way you would with any of the pre-trained models available.You can always change the system prompt, change params, and add repositories to curate the fine-tuned model to your liking.You can also test out your fine-tuned model individually in the chat section of the Lab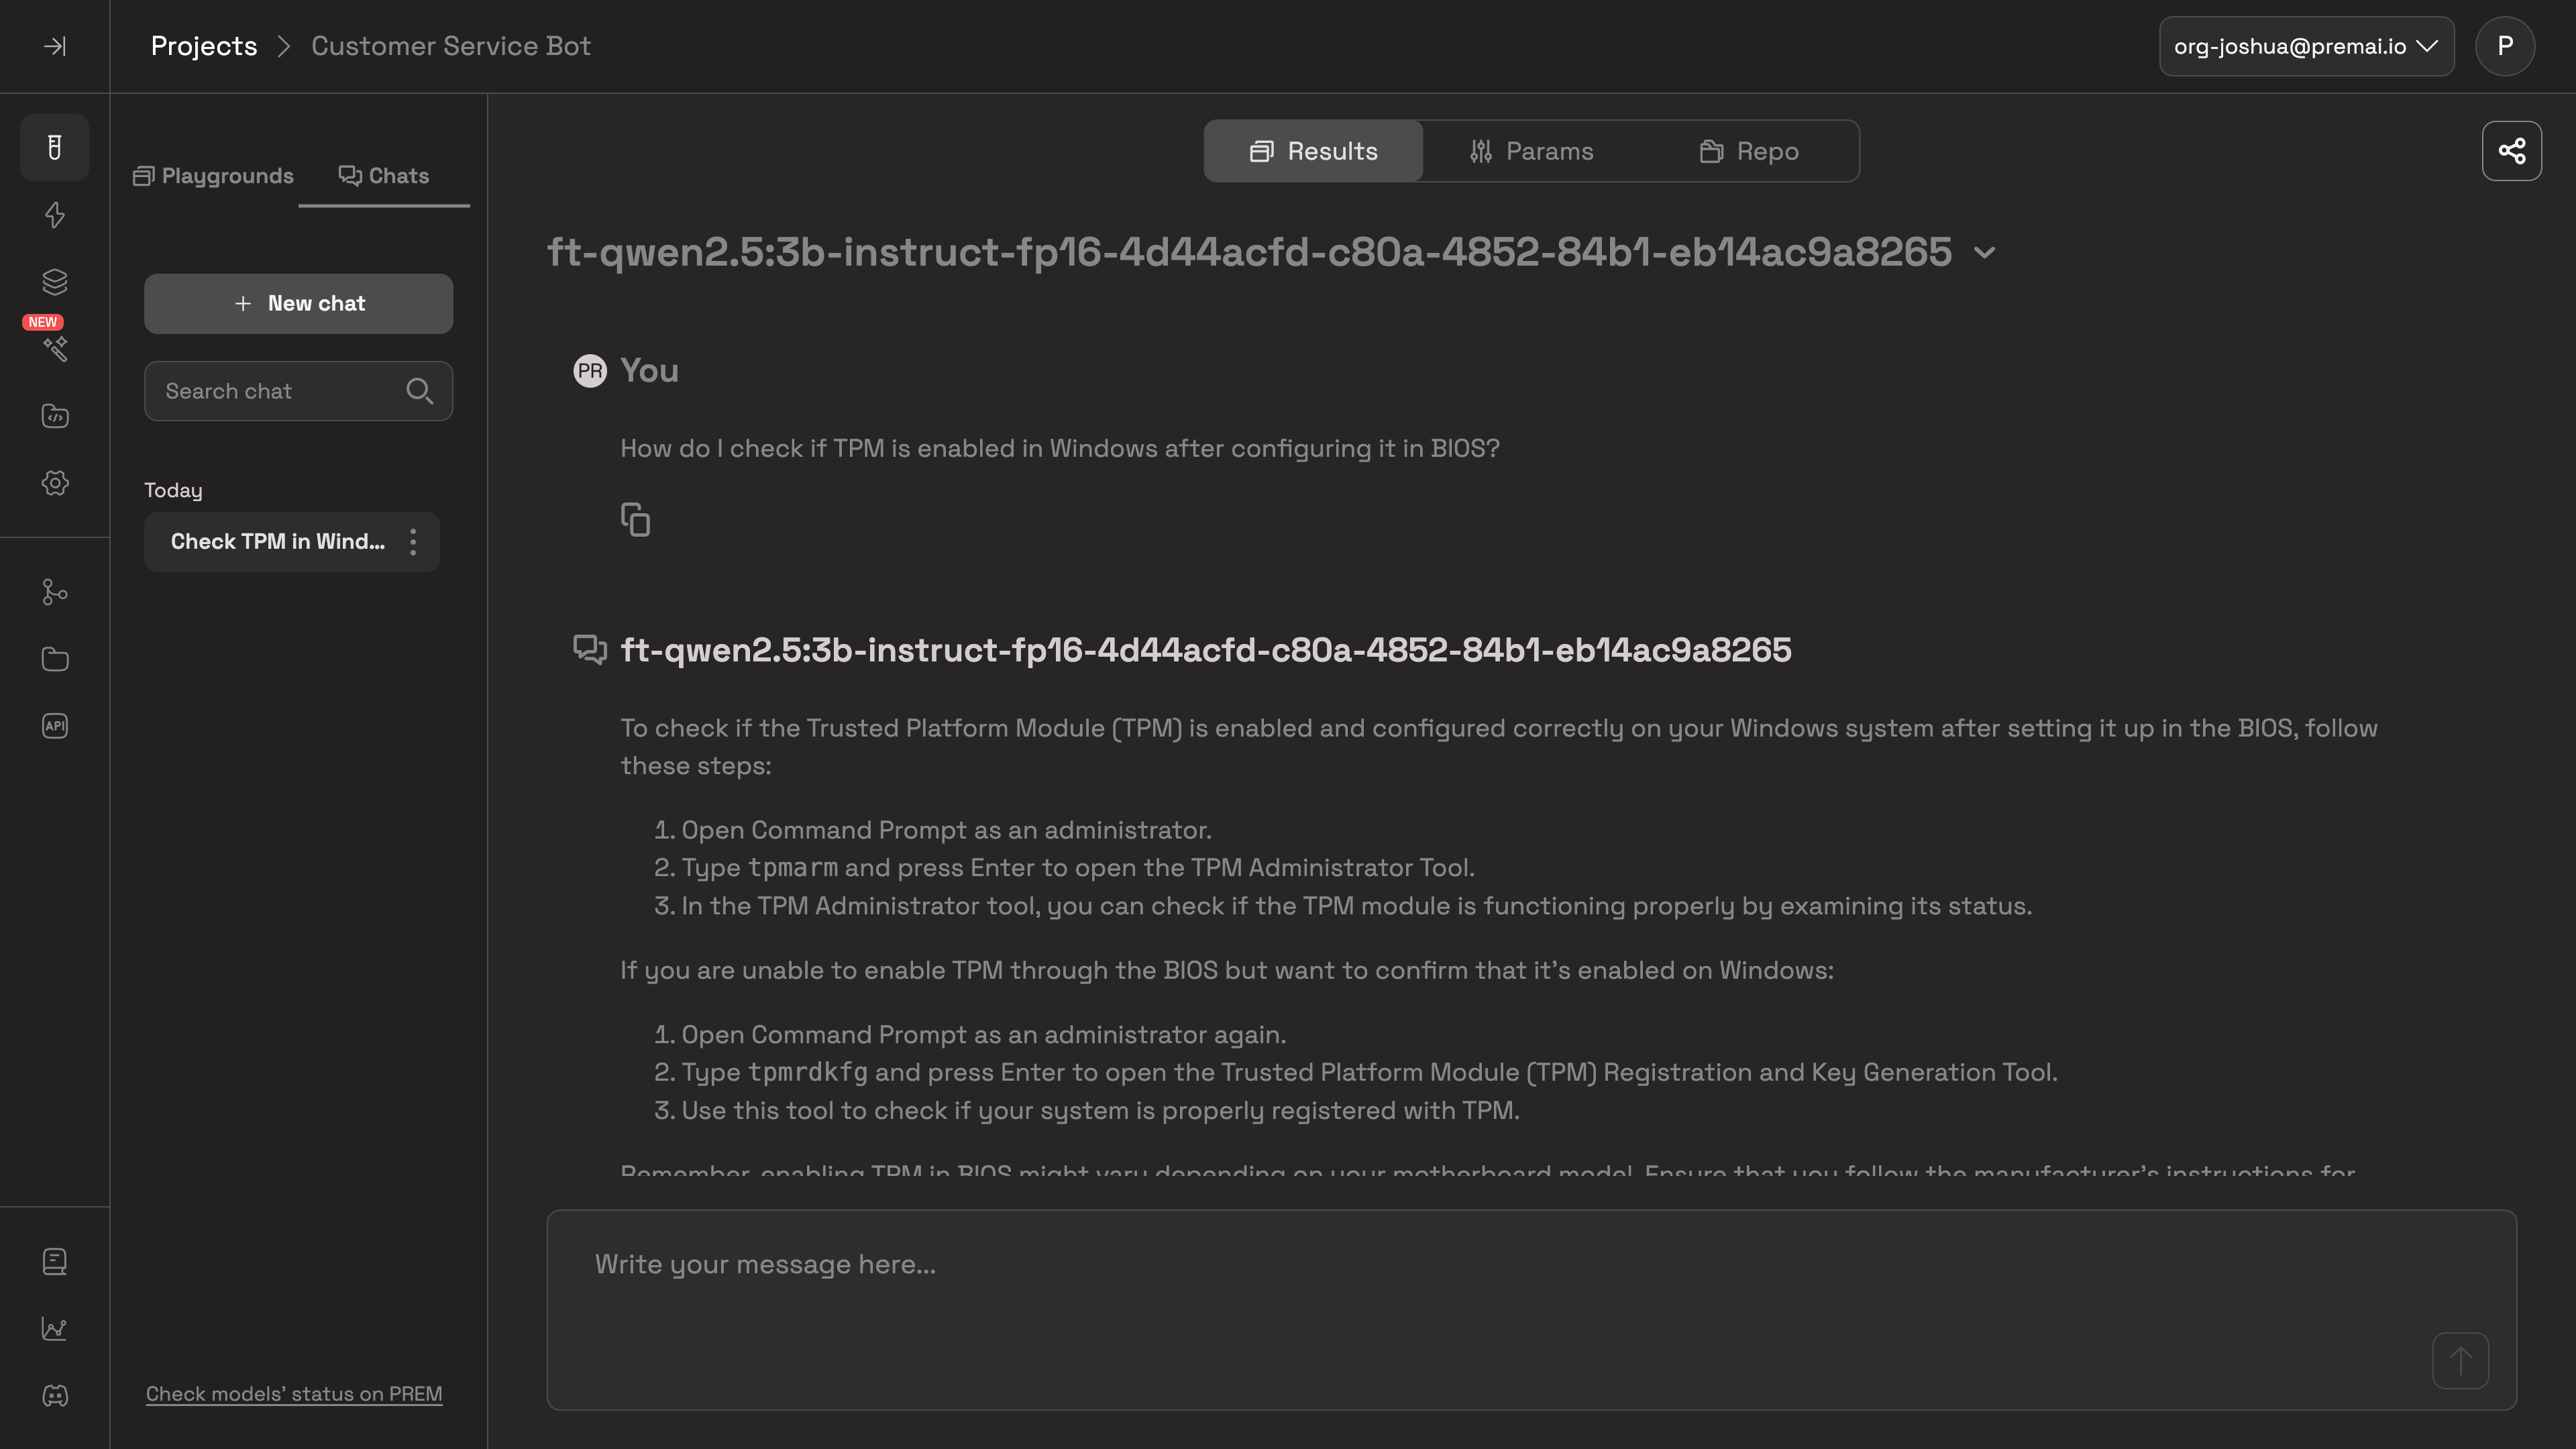
Launch your fine-tuned model with the Launchpad
Now that you used the Autonmous fine-tuning agent and testing is complete, navigate to the Launchpad to deploy your model so it’s ready for integrating into your applications.You will still have the ability to configure the model’s params, system prompts and repositories.
Evaluate your fine-tuned model's performance with Traces
As you continue to use your launched/deployed fine-tuned model, you can use the Traces feature to monitor its performance. We highly recommend that you check in on your fine-tuned model’s performance regularly to ensure it’s performing as expected.